 Who loves pillows!!?? I know I do and I am always looking for new pillows. While I was decorating my house for fall this year I thought some fall pillows would go perfectly on my two chairs. To be honest my husband and I are on a pretty tight budget. I recently made the decision to stay at home with our sweet Maylee and I absolutely love the decision. But that has cut our income in half, meaning right now we don’t have money for decorations 😦 I had to come up with a cheap way to get some fall pillows. I remembered a craft my mom and I did this summer. We found the perfect way to transfer printed material to fabric. I used this method and turned the fabric into pillows for fall. I loved how they turned out so much I thought I would share how to do it with you. Now you can go create so many fun things using this method.
 There are just four things that you need for this project. The first is fabric, I used a drop cloth from Home Depot because it is a cute color, cheap, and a great texture. You will also need a spoon, clear polyurethane spray paint, and a mirrored image or text printed with a laser printer. I have attached the documents that I used for mine. Feel free to use them and create some fun transfer projects. Here is the gather document and here is the give thanks one. We also have a free printable on this blog post that I have mirrored and ready for you to transfer to fabric. The first step is to prepare your fabric by cutting it to the size that you would like. I have pillow inserts that are about 18 or 19inch squares so I cut my two pieces of fabric 20.5inches. I wanted to make sure to have a large enough seam allowance because the drop cloth unravels pretty easily.
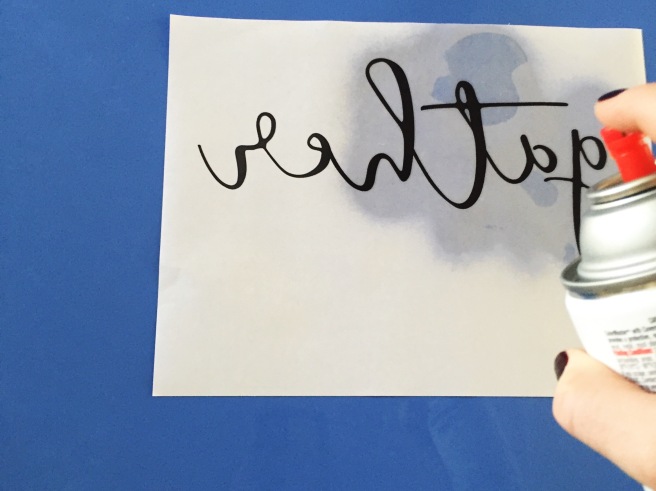
  The next step is to spray the mirrored image with the clear polyurethane spray paint. You will want to get it all moist but not drenched. The spray paint has some pretty strong fumes so you will want to do this outside or in a well ventilated area.
  Once the paper is sprayed flip the paper onto your fabric so the spray paint and ink are facing your fabric.
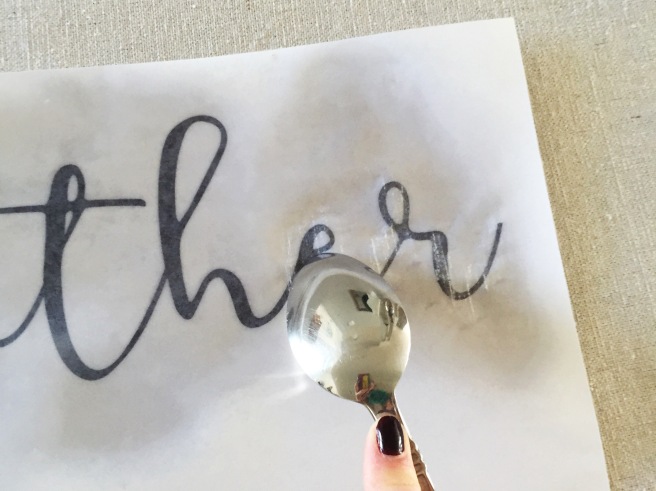
  You will then use your spoon to press on the ink. You will need to use some force but not too much where you are tearing the paper. You can hold the paper in place and check how your work is going like the picture below.
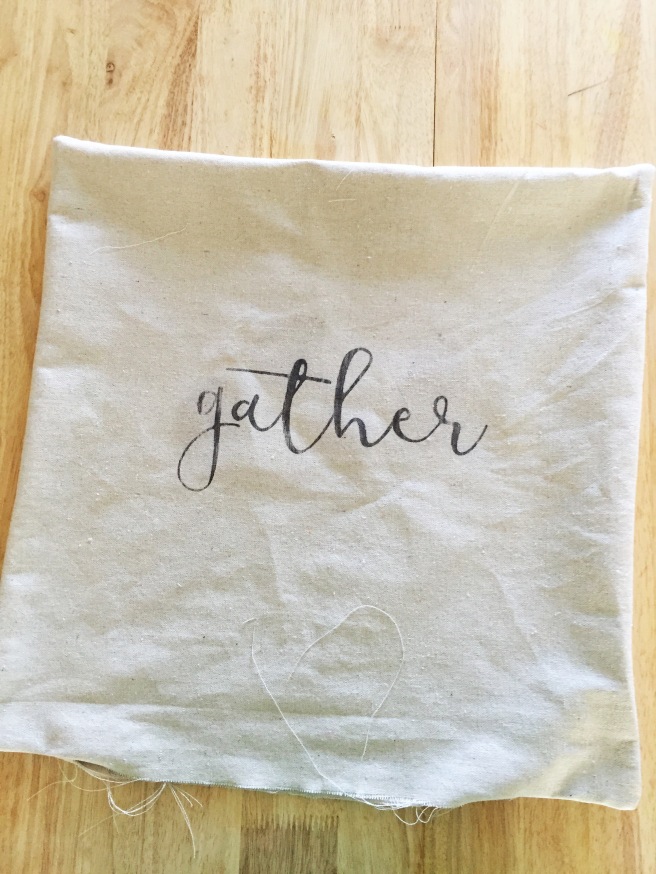
 This is what it will look like when you are finished! The spray paint will eventually dry clear, so no need to worry about it. The texture on the fabric makes the ink transfer a little rough, which I like. If you want it to have a more crisp line you can go over it with a fine tipped sharpie pen. I then made mine into a pillow.
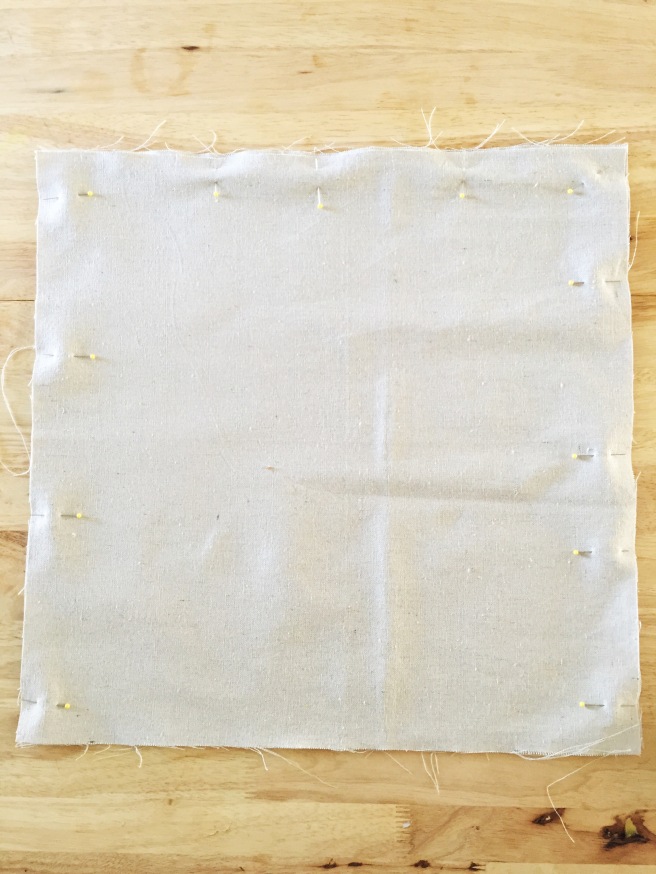
  To make the pillow I placed another piece of fabric on top of the fabric we were using with right sides together. I then pinned three of the sides.
  I sewed around the pillow leaving a 1/2inch seam allowance. On the bottom of the pillow make sure to leave about a 15inch hole so you can insert your pillow or stuff your pillow.
  Trim the corners so you get a nice crisp corner when you turn it right side out.
  Flip the pillow right side out. Then you will want to iron it if it needs it.
  Place your pillow insert in the pillowcase or stuff it with stuffing.
  Close the bottom of the pillow by folding the edges into the pillow and pin like the picture above.
  I then sewed a whip stitch all the way across the bottom. You could do an invisible stitch if you want or you could even insert a zipper if you really wanted to do all that work. Lets face it, I like projects to be quick and easy so I quickly did a whip stitch.
 And viola the pillow is done! I loved how the pillows match but are slightly different on my matching chairs.
  I seriously loved the way they turned out and they are perfect with my throw and the chairs.
  I hope you try this project out! There could be endless creations with this technique. YOu could do table runners, fabric framed in a picture frame, blankets, etc. I even thought it would be cute to do a Christmas picture or lettering on the back of the fall pillows and just flip it over after Thanksgiving! Let me know how your projects turn out. I would love to see what you create. Happy crafting!


Hello, I love these printouts and pillows but do not own a laser printer. I was wondering if a regular ol’ printer would work, with a toner cartridge?
LikeLike
I’m not sure, we haven’t tried it yet. I will try tomorrow and let you know 😊
LikeLike