I have grown up with a real Christmas tree my entire life, but last year I decided to try something new. I wanted to have a flocked Christmas tree. I knew I didn’t want to spend hundreds of dollars on a flocked tree so I found a way to create a flocked tree myself! I tried three different techniques and I will tell you which one worked the best!  Last year we found this Christmas tree at the thrift store. It was tall, skinny, had pretty branches, and was a pre lit tree with all the lights working. The best part was it was only $25! So if you are looking for an inexpensive tree search thrift stores. They have tons of trees. Once we had the tree we tested out the first technique that we thought of. We used a snow aerosol spray. It was inexpensive so we thought we would give it a try. It was a spray that you use on windows to make them look frosty. I loved the way it sprayed on. It looked like a real flocked tree but once it dried it wasn’t as fluffy. I then decorated the tree and left it with that flocking for last years Christmas season. Here is a picture of what it looked like last year. As you can tell it doesn’t have the thick snow look.
  The major negative thing about the aerosol snow spray was that it was not permanent and flaked off everywhere. By this Christmas season almost all of the flocking had fallen off. I recommend not using the snow aerosol spray. This year I tried a second method. I heard that wall texture that you can buy in an aerosol can worked for flocking. I tried it and HATED it. It looked like big splotches of paint. I used one can which was $19 and it only covered a quarter of the tree. I recommend not using that method either. In my third attempt I finally looked into using real flocking for trees. I found some on amazon here for a good price. I got the five pound box for $40. My tree is about seven feet tall and I didn’t even end up using half of the box. Here is how I did it.

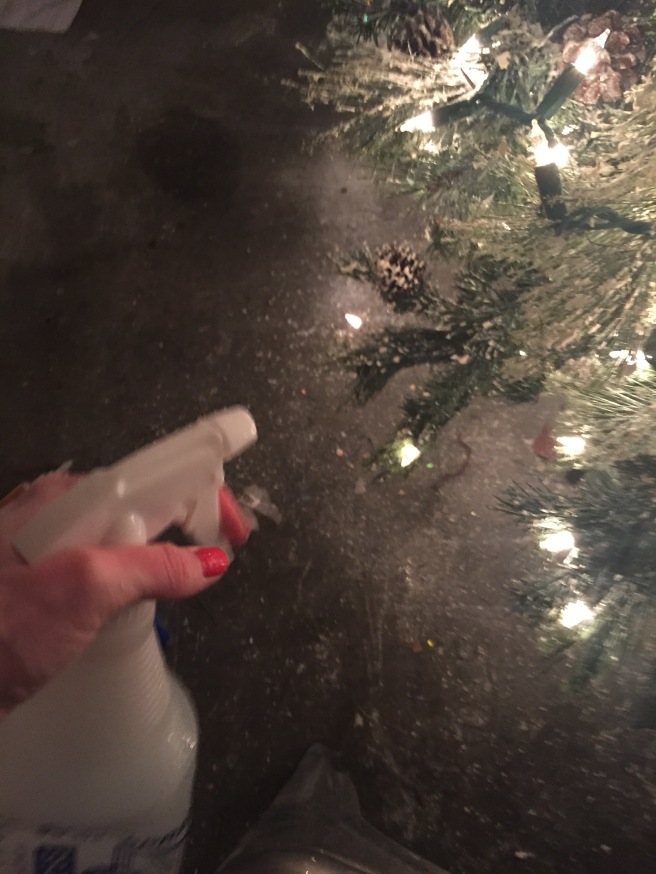
Of course Maylee was there helping me out. This was my tree before. You can see all the flocking from last year has fallen off. You will need three things to flock the tree in this method. You will need a spray bottle filled with water, a strainer, and Sno Flock. I found mine here. The first thing I did was fluff the tree and make sure all the lights were working. Of course there were lights that weren’t working, so it took me forever to replace them. The next thing I did was spray a third of my tree with water using a spray bottle. I sprayed it as much as possible. I really recommend working in sections.  The flocking is a powder that acts as an adhesive when it reacts with water, so that is why it is important to spray the tree well. Once the part of the tree that you are working with is wet you are ready to add the flocking! To add the flocking you will need a strainer. I scooped about a cup of the flocking into the strainer and shook the strainer over the tree that was wet.
  Sorry my pictures aren’t the greatest. I was by myself trying to take pictures while flocking. I repeated this process until I got the thickness that I wanted. I held up branches and stuck the strainer inside the tree to get the inside flocked as well. I wanted it pretty thick so it took a few layers everywhere. I then repeated the process on the other two thirds of the tree. Once I had the entire tree covered the way I wanted it I sprayed the entire tree again with the spray bottle. I ended up using almost the entire spray bottle of water. By doing this it helped the flocking stick and stay on the limbs of the tree. I then let the tree dry overnight. I was excited to see how it turned out the next morning. When I went to check it out in the morning I could not believe how well the flocking had adhered to the tree. It was perfect and looked just like a store bought tree to me. I then moved the tree in the house and was so excited to decorate it! I was worried about moving it because I thought I would lose some flocking but to my surprise I lost very little.
  I used all my silver, mercury, and red ornaments that I had. I bought three new ornaments this year from TJ Maxx. I really tried to use what I had to make the tree as cheap as possible. I also added red bows throughout the tree. You can see on the pictures below how the flocking looks close up.


Here is the tree without the lights lit.  I like the look with and without the lights on the tree.


I am so glad I found a way to flock my tree that looks great and was inexpensive. Including the tree this entire project was only $45 by using only half of the box of flocking. I don’t know anywhere that you can get a flocked seven foot tree for $45, do you? You could try this technique out on a lot of different things. I might try it out on a real tree I bought as well. You could also it it on greenery or wreaths. I hope you try this technique out and love it just as much as I do. Let me know how your flocking projects turn out! I hope they are successful.


One thought on “DIY Flocked Christmas Tree ”